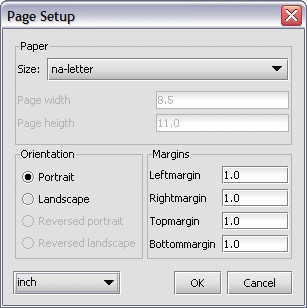
Page setup
Page setup can be selected from the:
- File menu.
- Print Preview > Print... (displayed as the Page setup tab).
For more information on page setup options from the Print dialog, see Print preview.
Page setup from the File menu enables you to:
- Specify the print page size.
- Pick the orientation for your print page.
- Set the margins for your print page.
To open the Page setup dialog from the File menu:
- Make sure you are in Data (ready) mode - not Find mode.
- Choose File > Page setup....
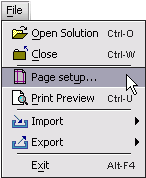
- You should see the Page Setup dialog:
Picking a page size for printing
To pick a page size for printing:
- Click once on the Size pull-down menu.

- Select a page size from the Size list.
- Press OK when you are done.
NOTE: The list of available paper sizes that appears in the Size pull-down menu depends entirely on the printer you select to use. For specific information, refer to the documentation for the selected printer.
Specifying the orientation for your print page
To set the orientation for your page:
- Select one of these Orientation radio buttons:
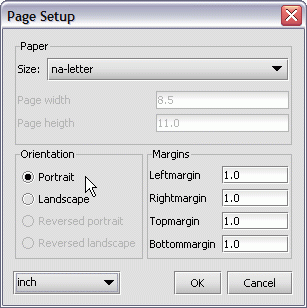
The print on the page is at a right angle to the longest
side of the page.
The print on the page is parallel to the longest
side of the page.
- Press OK when you are finished.
Setting the margins for your print page
To set up the margins for your page:
- Enter the value(s) in the Margins boxes provided for the
left, right, top and bottom margins.
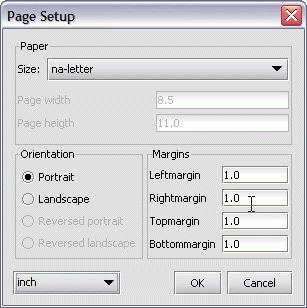
- Press the OK button when you are done.